Gears of War: E-Day Act 1 Collectibles – All 13 Locations
All 13 Gears of War: E-Day Act 1 collectible locations across Emergence, Survival of the Fittest, A Gear in Need and Back in the Fold.
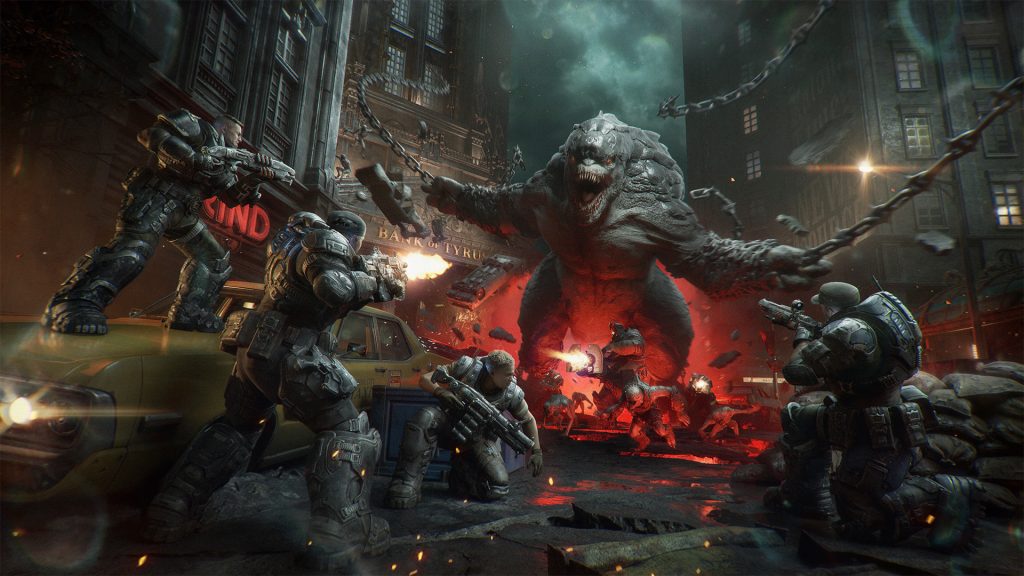
Act 1 of Gears of War: E-Day contains 13 standard collectibles spread across four chapters.
This guide keeps the directions short so you can use it as a checklist while playing. For the full Campaign completion categories, see our E-Day Collectibles, Hard Cases & Side Objectives guide.
Act 1, Chapter 1 – Emergence
There are 3 collectibles.
Monster Jaw
After the early melee encounter with the small Locust creatures, continue through the short scene. When you regain control, check the ground on the right side of the emergence hole near the kiosk.
Bloody Transit Worker's Helmet
In the maintenance tunnels, watch for an opening on the left side of the corridor. The helmet is on the floor inside the side area.
Front Page of the Kalona Times
After helping the trapped civilian and clearing the next street fight, cross to the Cafe and Bakery. Go into the back kitchen and check the counter.
Act 1, Chapter 2 – Survival of the Fittest
There are 4 collectibles.
KPD Police Bulletin
At the start of the police station section, take the opening to the left and stay on that side of the room. Check the desk near the back wall.
Bloodied Police Chief's Badge
Continue through the station until you find the dead police chief displayed on the wall. The badge is directly below him.
Army Recruitment Pamphlet
After the courtyard battle at the Gears Recruitment Centre, enter the building and go behind the front display desk beneath the large COG symbols.
Try On Pilot Helmet
From the pamphlet, move to the nearby row of pilot helmets. Interact with the third helmet from the left.
Act 1, Chapter 3 – A Gear in Need
There are 2 collectibles.
Tomatoes, Canned
When you enter the rear warehouse section of the Try 'N Save supermarket, move into the second room and check the floor beside the central shelving.
Broken Lancer Bayonet
After the supermarket fight and the following cutscene, do not leave immediately. Check the fallen Gear inside the store for the broken bayonet.
Act 1, Chapter 4 – Back in the Fold
There are 4 collectibles.
Front Page of the Tyran Chronicle
Near the start of the chapter, keep to the right side of the street and look for the Bar & Lounge sign. Check the doorstep in the wide alley beside it.
Anti-UIR Propaganda Poster
Outside the Landa Medical Centre, go down the small steps and turn right. Follow the path and inspect the wall on the right.
Landa Memorial Medical Supplies Memo
After the fight outside the medical centre, enter the building and follow the short corridor into the small office. The memo is on a desk to the right.
COG Tags of Private Brick Rosso
After leaving the medical centre and clearing the courtyard encounter, move toward the park entrance. Check behind the police car on the left side of the approach.
Act 1 Checklist
- Monster Jaw
- Bloody Transit Worker's Helmet
- Front Page of the Kalona Times
- KPD Police Bulletin
- Bloodied Police Chief's Badge
- Army Recruitment Pamphlet
- Try On Pilot Helmet
- Tomatoes, Canned
- Broken Lancer Bayonet
- Front Page of the Tyran Chronicle
- Anti-UIR Propaganda Poster
- Landa Memorial Medical Supplies Memo
- COG Tags of Private Brick Rosso
If you are continuing straight into the next Act, use the Act 2 collectible guide.