Gears of War: E-Day Act 4 Collectibles Guide – All 41 Locations
Find all 41 collectibles in Gears of War: E-Day Act 4 with chapter totals, ordered locations, train and side-mission warnings, and an efficient completion route.
Gears of War: E-Day Act 4 Collectibles Guide – All 41 Locations
Act 4 contains 41 collectibles across six chapters, making it one of the heaviest collectible stretches in the Campaign. Chapters 1 and 3 are the big sweeps: Hope and Ruin has 13, while Tough as Nails has 14.
The collectibles count toward Memories From E-Day and your wider 100% Campaign completion. Nothing is permanently lost because chapters can be replayed, but several Act 4 items sit around moving trains, side missions and late-chapter transitions where it is much faster to grab them on the first run.
| Chapter | Name | Collectibles |
|---|---|---|
| 1 | Hope and Ruin | 13 |
| 2 | Technical Difficulties | 2 |
| 3 | Tough as Nails | 14 |
| 4 | Signals | 5 |
| 5 | Paths Diverge | 2 |
| 6 | Critical Failure | 5 |
| Total | 41 |
Before leaving the larger areas, open the War Journal and compare your chapter count with the table above. Listen for the collectible audio cue and watch for the brief vibration/on-screen alert when you move into range.
Act 4 Chapter 1: Hope and Ruin – 13 Collectibles
Hope and Ruin is another broad city section. A useful sweep is to clear the memorial and bridge first, then work through the hotel/cathedral side of the district, market/university area and finally the Opera House section.
| # | Collectible | How to Find It |
|---|---|---|
| 1 | COG Tags of Sergeant Major Hank Rustin | These are awarded as the chapter begins, so they should already be recorded when you start exploring. |
| 2 | Message from The Coalition | From the beginning of the chapter, head down toward the memorial and inspect the memorial area rather than immediately pushing to the next objective. |
| 3 | COG Tags of Sergeant Betsy | Cross the bridge early in the chapter and turn left once you are across. Search the edge of the route for the body and tags. |
| 4 | Regalia Hotel VIP Guest List | Enter the Regalia Hotel and stop at the front desk/reception. The list is sitting in the lobby area and is easy to miss if you run straight through. |
| 5 | DISPUTE Magazine | After the cathedral section, follow the main route until you reach the interactable truck. Search behind the truck before using it/progressing. |
| 6 | Anniversary Card and Tickets | In the area with multiple Locust snipers, search the accessible building rather than only clearing the shooters. The card and tickets are inside. |
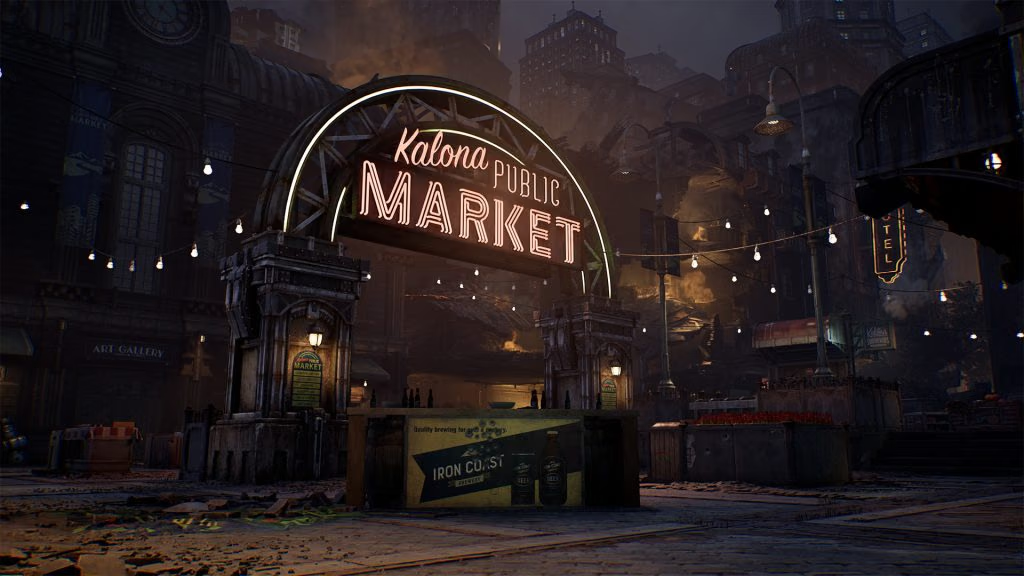
| 7 | A Handwritten Letter, in Vasgari | Move to the far-left side of the district around the market. Go all the way toward the back of that area and search the rear section for the letter. |
| 8 | COG Tags of Specialist Harrison Alexieff | While travelling toward the university, watch the side of the route for the fallen Gear. Pick up the tags before entering the next major objective area. |
| 9 | Statuette of Roman Kalona | Before the town-square objective, enter the gift shop and search inside for the statuette. |
| 10 | COG Tags of Specialist Dale Maddoc | Search along the side of the university, near the optional/side-mission area. The tags are outside the main central route. |
| 11 | Blood-Splattered Ulk Plushie | On the street leading toward the Opera House, slow down and search the street-side area rather than heading directly to the entrance. |
| 12 | Light Darker Opera Program | Inside the Opera House, reach the second-floor balcony and search the balcony area for the program. |
| 13 | COG Tags of Specialist Mei Aoi | Outside the Opera House area, follow the street to its end on the left side and inspect the fallen Gear for the tags. |
If the War Journal shows 12/13, recheck the hotel front desk, market rear area, university side path and Opera House balcony.
Act 4 Chapter 2: Technical Difficulties – 2 Collectibles
This is a short, heavily scripted train chapter, but both collectibles are easy to miss because the train can move on.
| # | Collectible | How to Find It |
|---|---|---|
| 1 | COG Tags of Sergeant Aman Landry | When the train stops and you get off to fight the first Locust group, do not immediately return to the train after the fight. Search the stop area for Landry's body and collect the tags quickly before the sequence advances. |
| 2 | No. 80 Graffitied Poster | From the same train stop, head back along the tracks and take the right-hand tunnel. Watch the left wall inside the tunnel for the graffitied poster. Grab it before returning to the train. |
Do these immediately. The moving train creates a natural point of no return.
Act 4 Chapter 3: Tough as Nails – 14 Collectibles
Tough as Nails is the largest collectible chapter in Act 4. Treat it like a district sweep instead of following the objective from marker to marker.
A practical order is opening streets → northern warehouse → civilian building → train yard → northeast side mission → refinery/factory complex → final tower.
| # | Collectible | How to Find It |
|---|---|---|
| 1 | Young Artists Night Poster | When you first reach the open exploration area, take the first street on the left and search the walls for the event poster. |
| 2 | Maranday Apple Brandy Bottle | From the first collectible, continue toward the street farther north. Search the nearby street-side area for the bottle before heading deeper into the district. |
| 3 | COG Tags of Corporal Goran Ducaine | Go to the warehouse-like building in the northern/top part of the area. Search inside for Ducaine's body and tags. |
| 4 | A Letter Regarding Armadillos | Find the building where civilians are defending themselves. Enter the first floor and inspect the desks; the letter is on one of them. |
| 5 | COG Tags of Lance Corporal Calder Hunt | Around the train-yard side of the district, search the nearby building rather than heading straight onto the tracks. Hunt's tags are inside. |
| 6 | R.I.G. Component | Enter the empty train car in the train yard and search the carriage for the component. |
| 7 | Imulsion Blast Charge | Complete the Secondary Objective in the northeast portion of the map. The blast charge becomes obtainable as part of/after finishing that optional route. |
| 8 | Refiner's Union Jacket | After collecting the Imulsion Blast Charge, turn back toward the nearby building on the right. Go to the second floor to find the jacket. |
| 9 | COG Tags of Lieutenant Jacob Palma | Once you enter the refinery section, search the interior rather than following the objective straight through. Palma's tags are inside the refinery. |
| 10 | Severed JACK Bot Head | In the largest factory building around the center of the district, search the main interior for the severed JACK head. |
| 11 | Blurry Photo of Locust Attack | In the same central factory complex, check the small side room rather than only the large production floor. The photograph is inside. |
| 12 | COG Tags of Lance Corporal Dalia Avdol | At the broken bridge inside the factory, look for the route that requires a jump across/onto the damaged section. The tags are at the broken bridge area. |
| 13 | Seradyne Factory Closure Sign | At the factory tied to the chapter's final Secondary Objective, search the bottom floor for the closure sign before finishing the optional route. |
| 14 | Port of Kalona Docking Registry | During the chapter's final main objective, climb the tower. At the top, check the central console for the registry before interacting with anything that advances the sequence. |
The Imulsion Blast Charge and Seradyne Factory Closure Sign are the first places to recheck if you finish the chapter short, because both depend on optional content rather than the main route.
Act 4 Chapter 4: Signals – 5 Collectibles
Signals is much more compact. The route naturally takes you from the gas station toward the bridge and communications tower.
| # | Collectible | How to Find It |
|---|---|---|
| 1 | Infinity Mints | Stop at the chapter's only gas station and search the station before moving on. |
| 2 | Signed Kalona Eagles Cap | On the way toward the communications tower, go below the bridge and search the lower area for the signed cap. |
| 3 | Photo of Lucas and His Friends | Once inside the communications tower, search the rooms/interior rather than going immediately to the objective equipment. |
| 4 | Lucas' Handheld Radio | The radio is also inside the communications tower, close to the same interior section as the photograph. Make sure you have both before leaving. |
| 5 | Pair of Binoculars | After finishing the tower section, follow the bridge/exit route and search along the bridge before committing to the next transition. |
Act 4 Chapter 5: Paths Diverge – 2 Collectibles
Only two collectibles are present, and both sit around the story route.
| # | Collectible | How to Find It |
|---|---|---|
| 1 | COG Tags of Lance Corporal Aniyah Musa | As soon as the chapter starts, turn left before following the squad/objective. Search the immediate area for the body and tags. |
| 2 | COG Tags of Lance Corporal Ava Wilson | Later, while moving toward the reactor in the final part of the chapter, watch the route for Wilson's body and collect the tags before entering the reactor objective area. |
Act 4 Chapter 6: Critical Failure – 5 Collectibles
Critical Failure is linear enough that you can collect everything in order. The important thing is to search the refinery rooms before advancing the final encounter.
| # | Collectible | How to Find It |
|---|---|---|
| 1 | Bust of Allfather Decha Timgad | As soon as you enter the refinery, search the entry section before moving deeper into the facility. |
| 2 | Damaged Gas Mask | In the refinery's open area, before entering the tunnel, search the surrounding ground/debris for the mask. |
| 3 | Tyran Business Monthly | After reuniting with the other squad members, check the small room on the left before continuing. The magazine is inside. |
| 4 | Memorandum to Dr. Elliot | During the required office section, search the office itself before leaving. The memorandum is on the story route but easy to ignore while following the squad. |
| 5 | Dalia Fabbri's Research Journal | In the final room before the boss fight, stop and search the room before triggering the next encounter. Pick up the journal first so you do not have to replay the ending section. |
After the Research Journal, check the War Journal for 41/41 Act 4 collectibles.
For the rest of the Campaign completion requirements, use our E-Day Collectibles, Hard Cases, Supply Caches & Secondary Objectives guide, or browse everything from the Gears of War: E-Day guide hub.